General Topics: Physics, Engineering, Simple Machines, Kinetic Energy, Architecture, Design, Geometry
Grade Level: 6-8
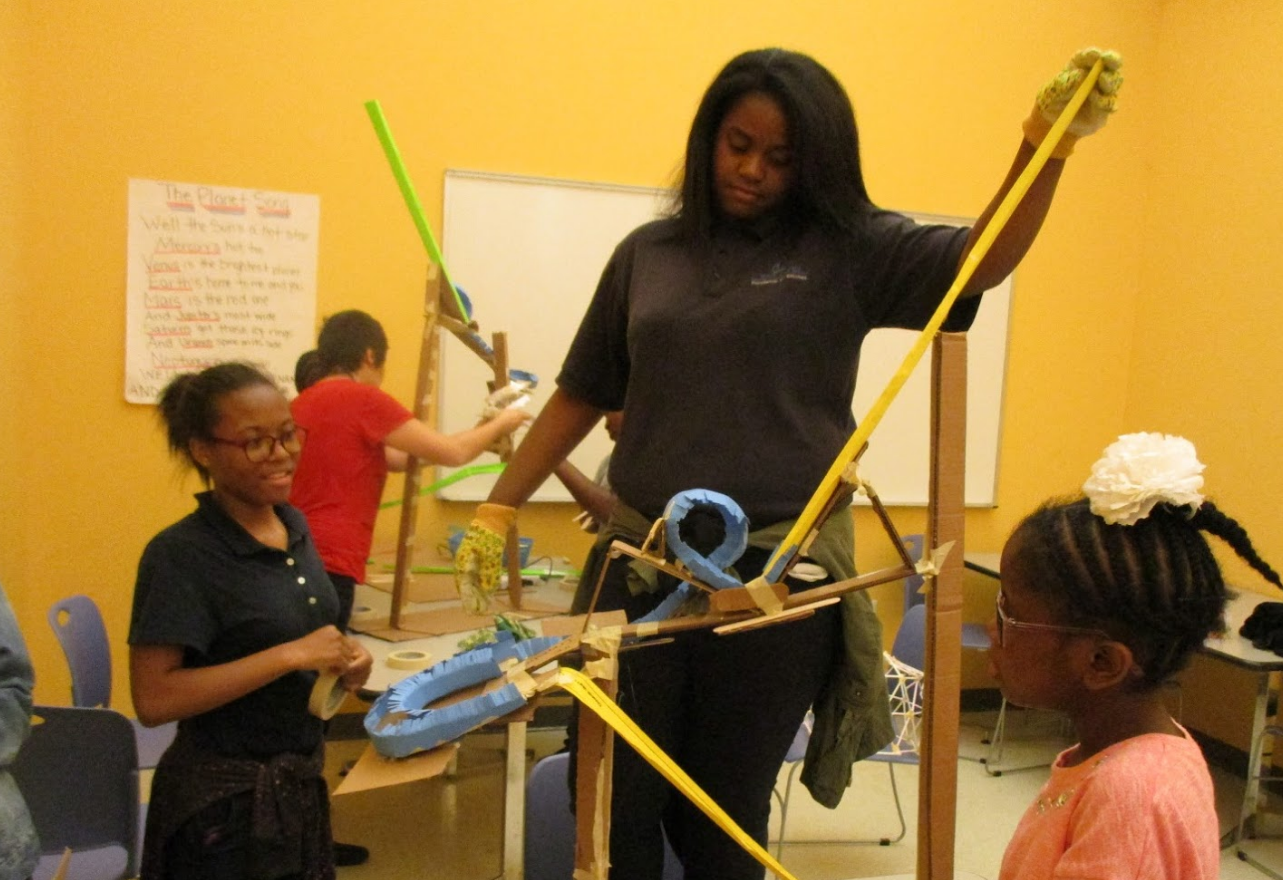
In this activity we built marble ramps. This exercise teaches students how to plan a design and how to build it, and how gravity, acceleration and momentum affect objects. This is an exercise designed around creativity and problem solving.
Process:
The students are given a cardboard base to start, extra cardboard to build their towers to give the ramp its height, scissors to cut the cardboard, stencils to base curves from, construction paper to make their ramps, and tape and hot glue to hold it all together. Because there is no one way to build these ramps, the students have to get creative: do they want a zig-zag slide, do they want a loop-de-loop? Each group gets to choose what they want each of their ramps to look like.
Also, here is how we divided the activity into digestible components in order for the students to grasp each piece of the whole instead of getting lost and losing interest:
- Creating simple ramp
- Measuring momentum based on angle of descent
- cutting out & assembling stencils for spiral ramp
- Designing and creating loop
- Assembling final marble ramp
What did we learn?
- Observe how gravity, force, counter force, speed, and mass play a role in the making of our marble ramps.
- Show that the project can be done with the tools the have.
- Students learn what works for their ramp and are able to think about what went wrong, and then fix it.
- Try complex things.
Things to keep in mind for future activities:
- Facilitate the process of what it means to work together, for example: each person has a specific job or task, part of a whole.
- The fun is where the problem is. Allow students who have trouble visualizing, to explore their ideas by making.
