General Topics: Building, Energy Transfer, Physics
Grade Level: 2-3
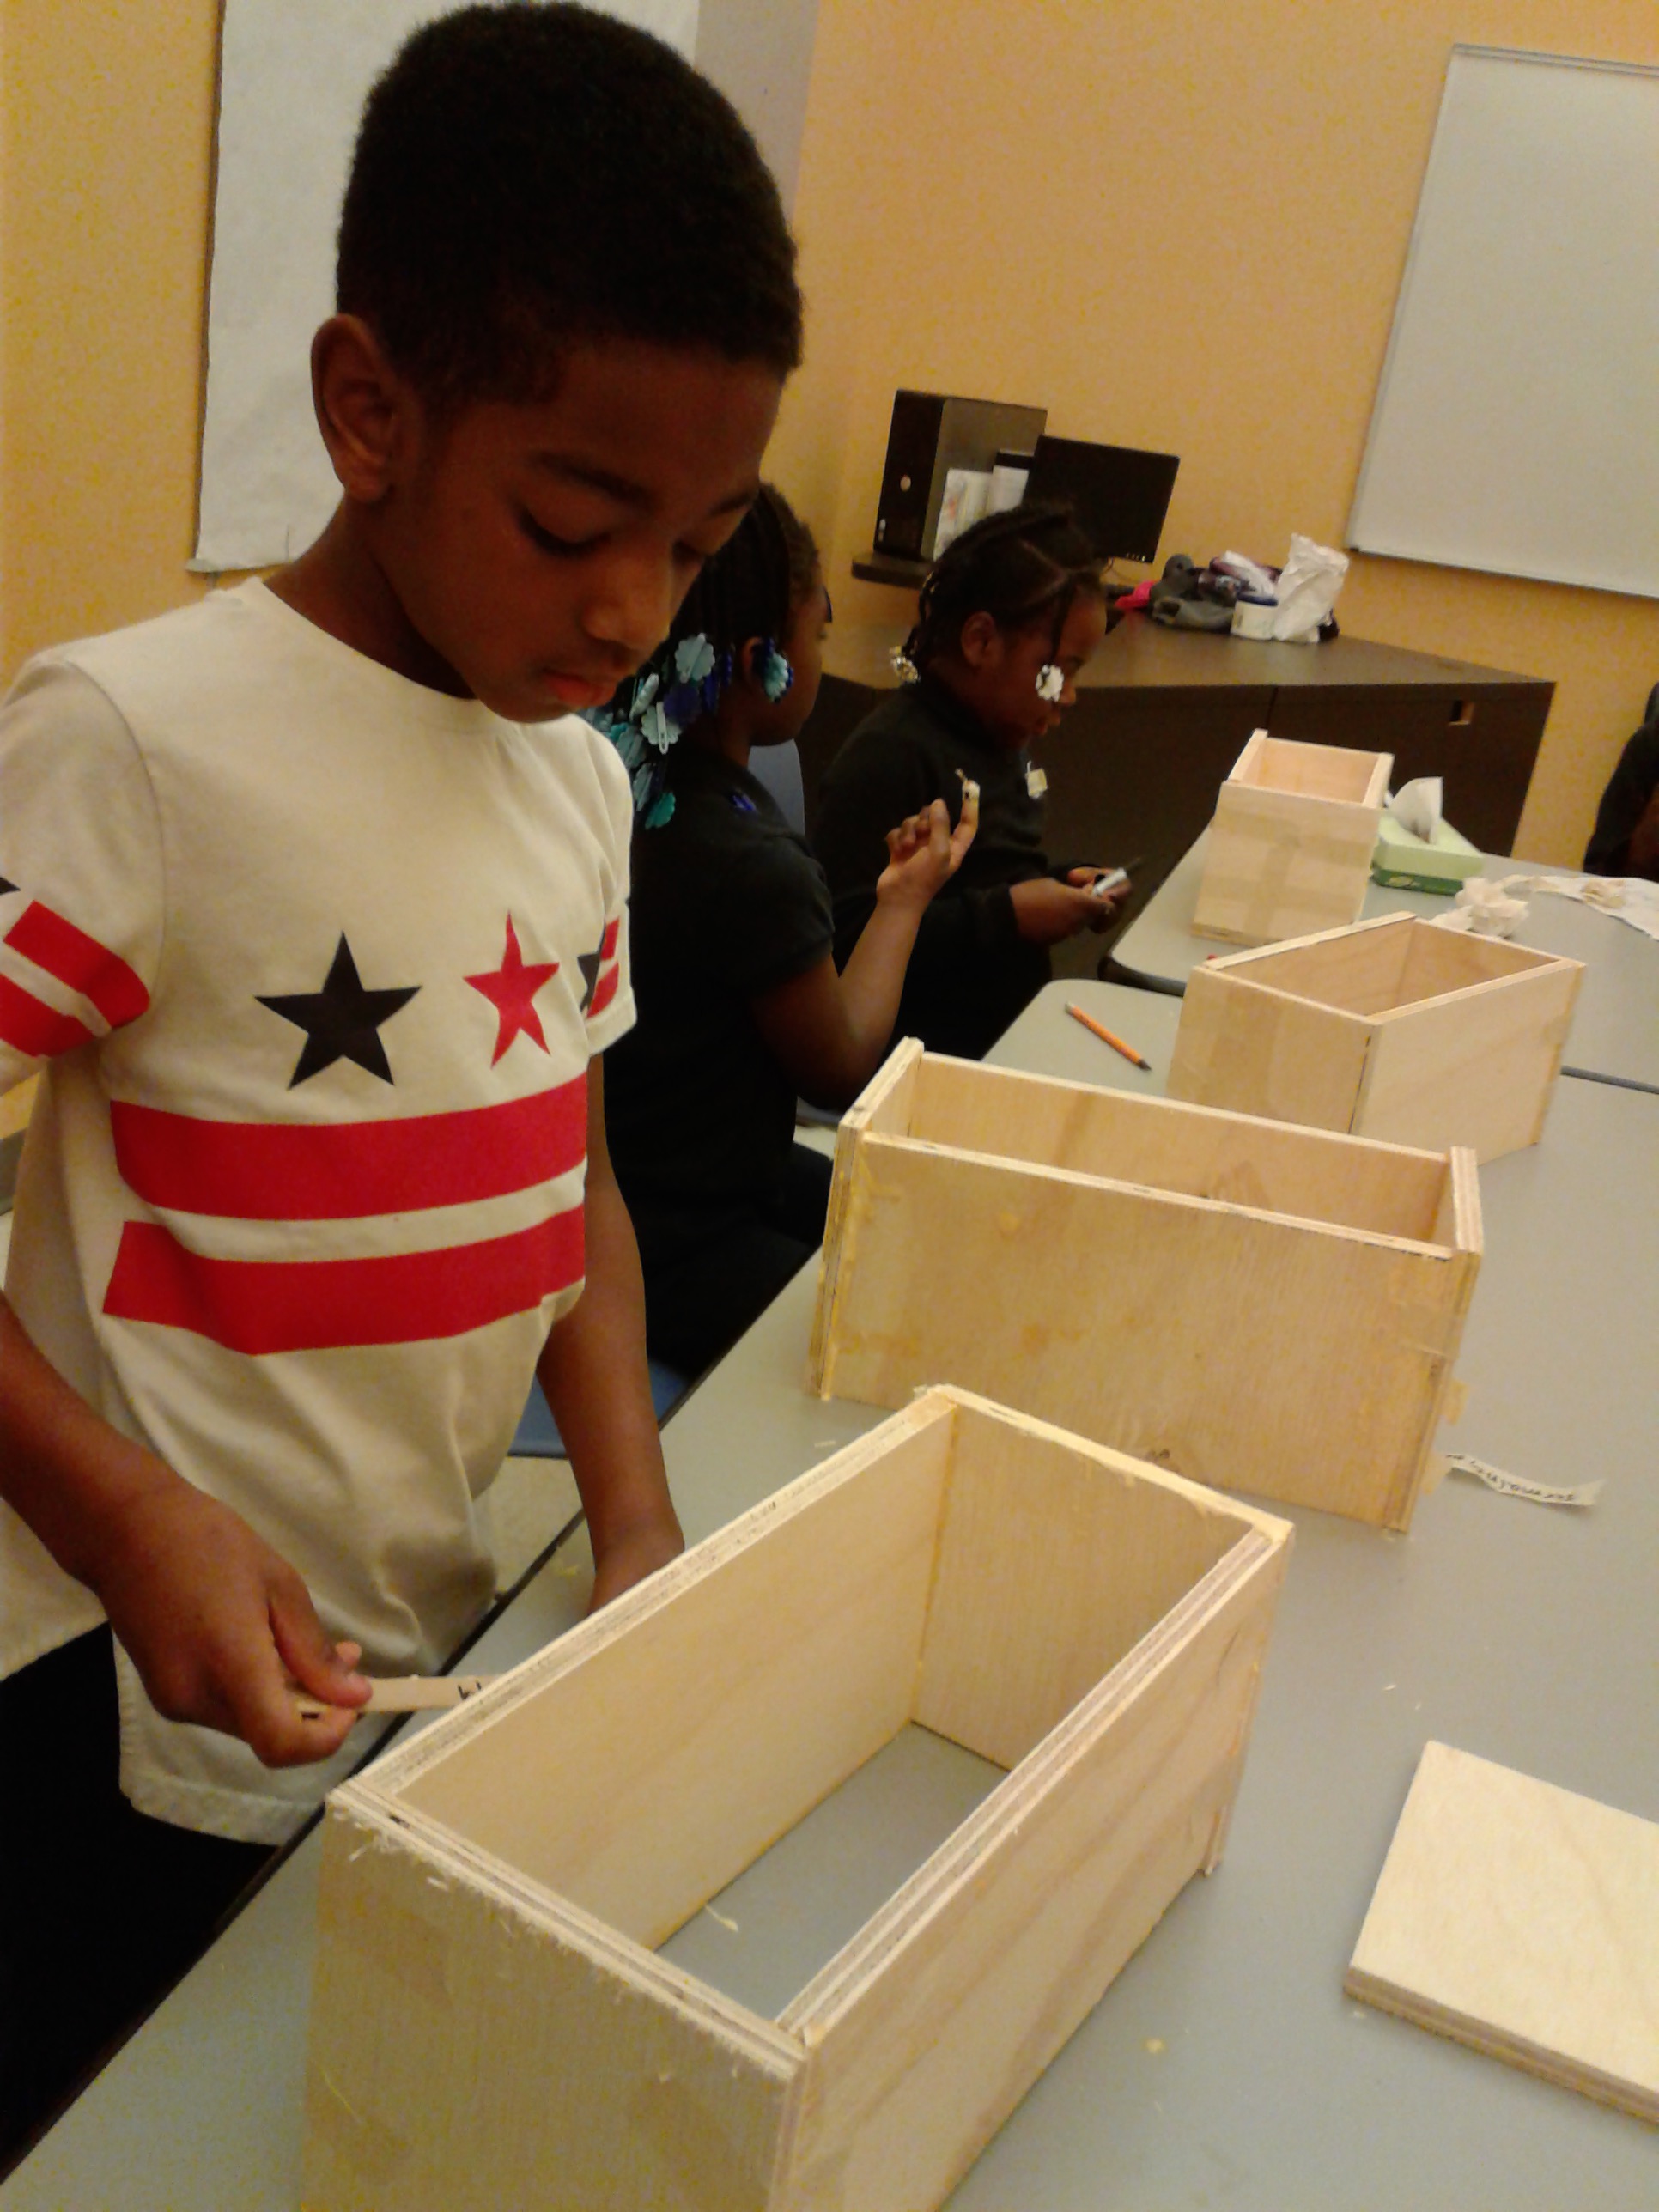
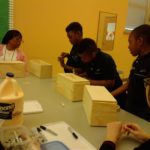
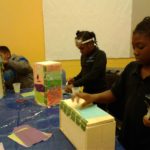
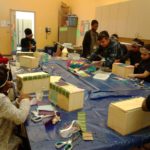
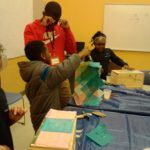
In this activity we explored the process of building a wooden box with a lid, held together with a fabric hinge. This exercise was used to teach the fundamentals and begin an easy introduction to building and creating. Students were then allowed to get creative and decorate their boxes with markers and tissue paper.
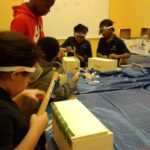
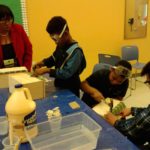
Each student was given all 4 walls and the bottom of the box to start with. The students then assembled the pieces and glued them together. After the glue dried, they were given nails and a hammer to secure the pieces together by nailing them together. It was a loud and fun time!
With the walls and bottom nailed and completed, the students nailed the fabric to their lid and to the back wall of their box, allowing them to make a hinge. This step complete, the students got creative and decorated their boxes!
This class we learned:
- How to use a hammer and how to use nails
- The transfer of energy from your arm, through the hammer to the nail into the box
- The basics of creating a new object
Things to keep in mind for future activities:
- Because of the age of the students, hammering was a lengthy process that needed a good amount of assistance
- Next time perhaps drilling small holes part way through the wood for the nails to rest in may be easier for students to hammer in
- Having the same amount of assistance (about 1 person for two students) was very helpful
