General Topics: Electromagnetic Energy, Electronics, Physics, Simple Machines
Grade Level: 2-3
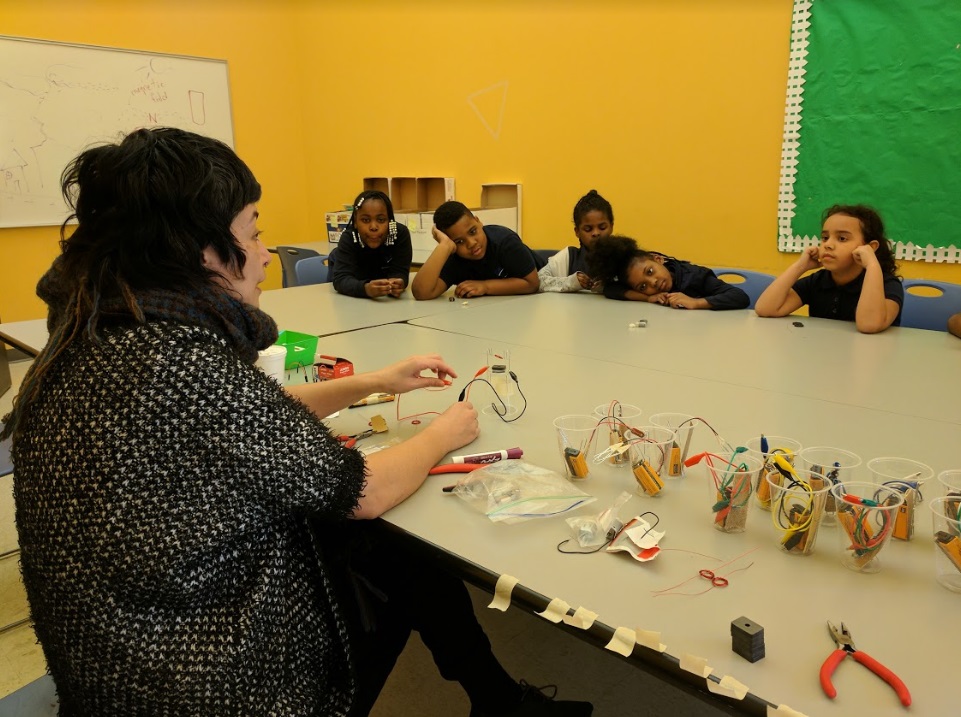
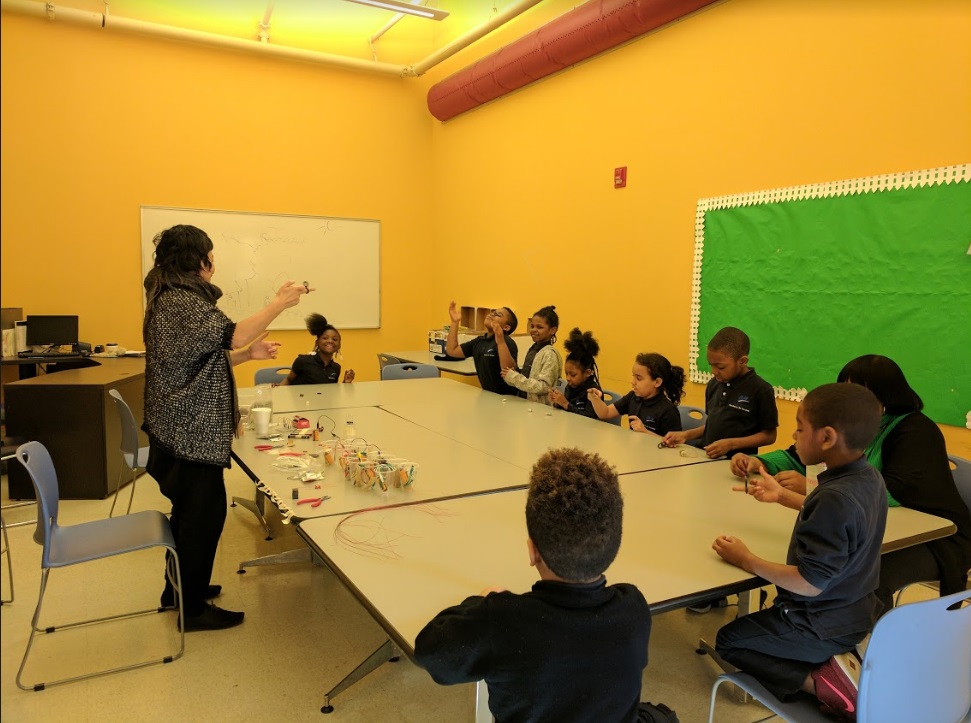
In this activity we explored the process of how electromagnetism works and how electromagnetism is used to create motors! The exercise had the students learning how to make a very basic motor using a copper wire, magnets, and a battery passing current through the device. The students had to find the best height above the magnets to allow for wire movement!
Each student was first given the copper wire to coil up themselves. Once in a coil, the students used sandpaper to remove the coating on the wire (as it was galvanized).
The students were then given their cups, paper clips, and magnets and asked to assemble the body of their motors. The students were then given the alligator clips and battery to hook up their circuit. The paper clips were initially placed in a semi arbitrary distance from the magnet, but the actual distance of the paper clip from the magnet would vary and the students worked to find the ideal distance! Students worked to find what distance worked best to get their motors going. Once completed, their copper coils went spinning!
This class we learned:
- What a magnetic field is
- What an electromagnetic field is
- How current running through a wire creates an electromagnetic field
- How motors work
- How magnets work
Things to keep in mind for future activities:
- Students had a bit of trouble coiling the wires. For this age group we may want to pre-coil them
- Future designs of the paper cup motor should allow for easier movement of the paperclips to change the distance from the magnet

