General Topics: Sewing, Electricity, Wearable Electronics, Mechanical Motion, Motors, Mini Robots, Newton’s Third Law, Physics, Engineering, Chemical Reaction, Art & Design
Grade Level: 4-7
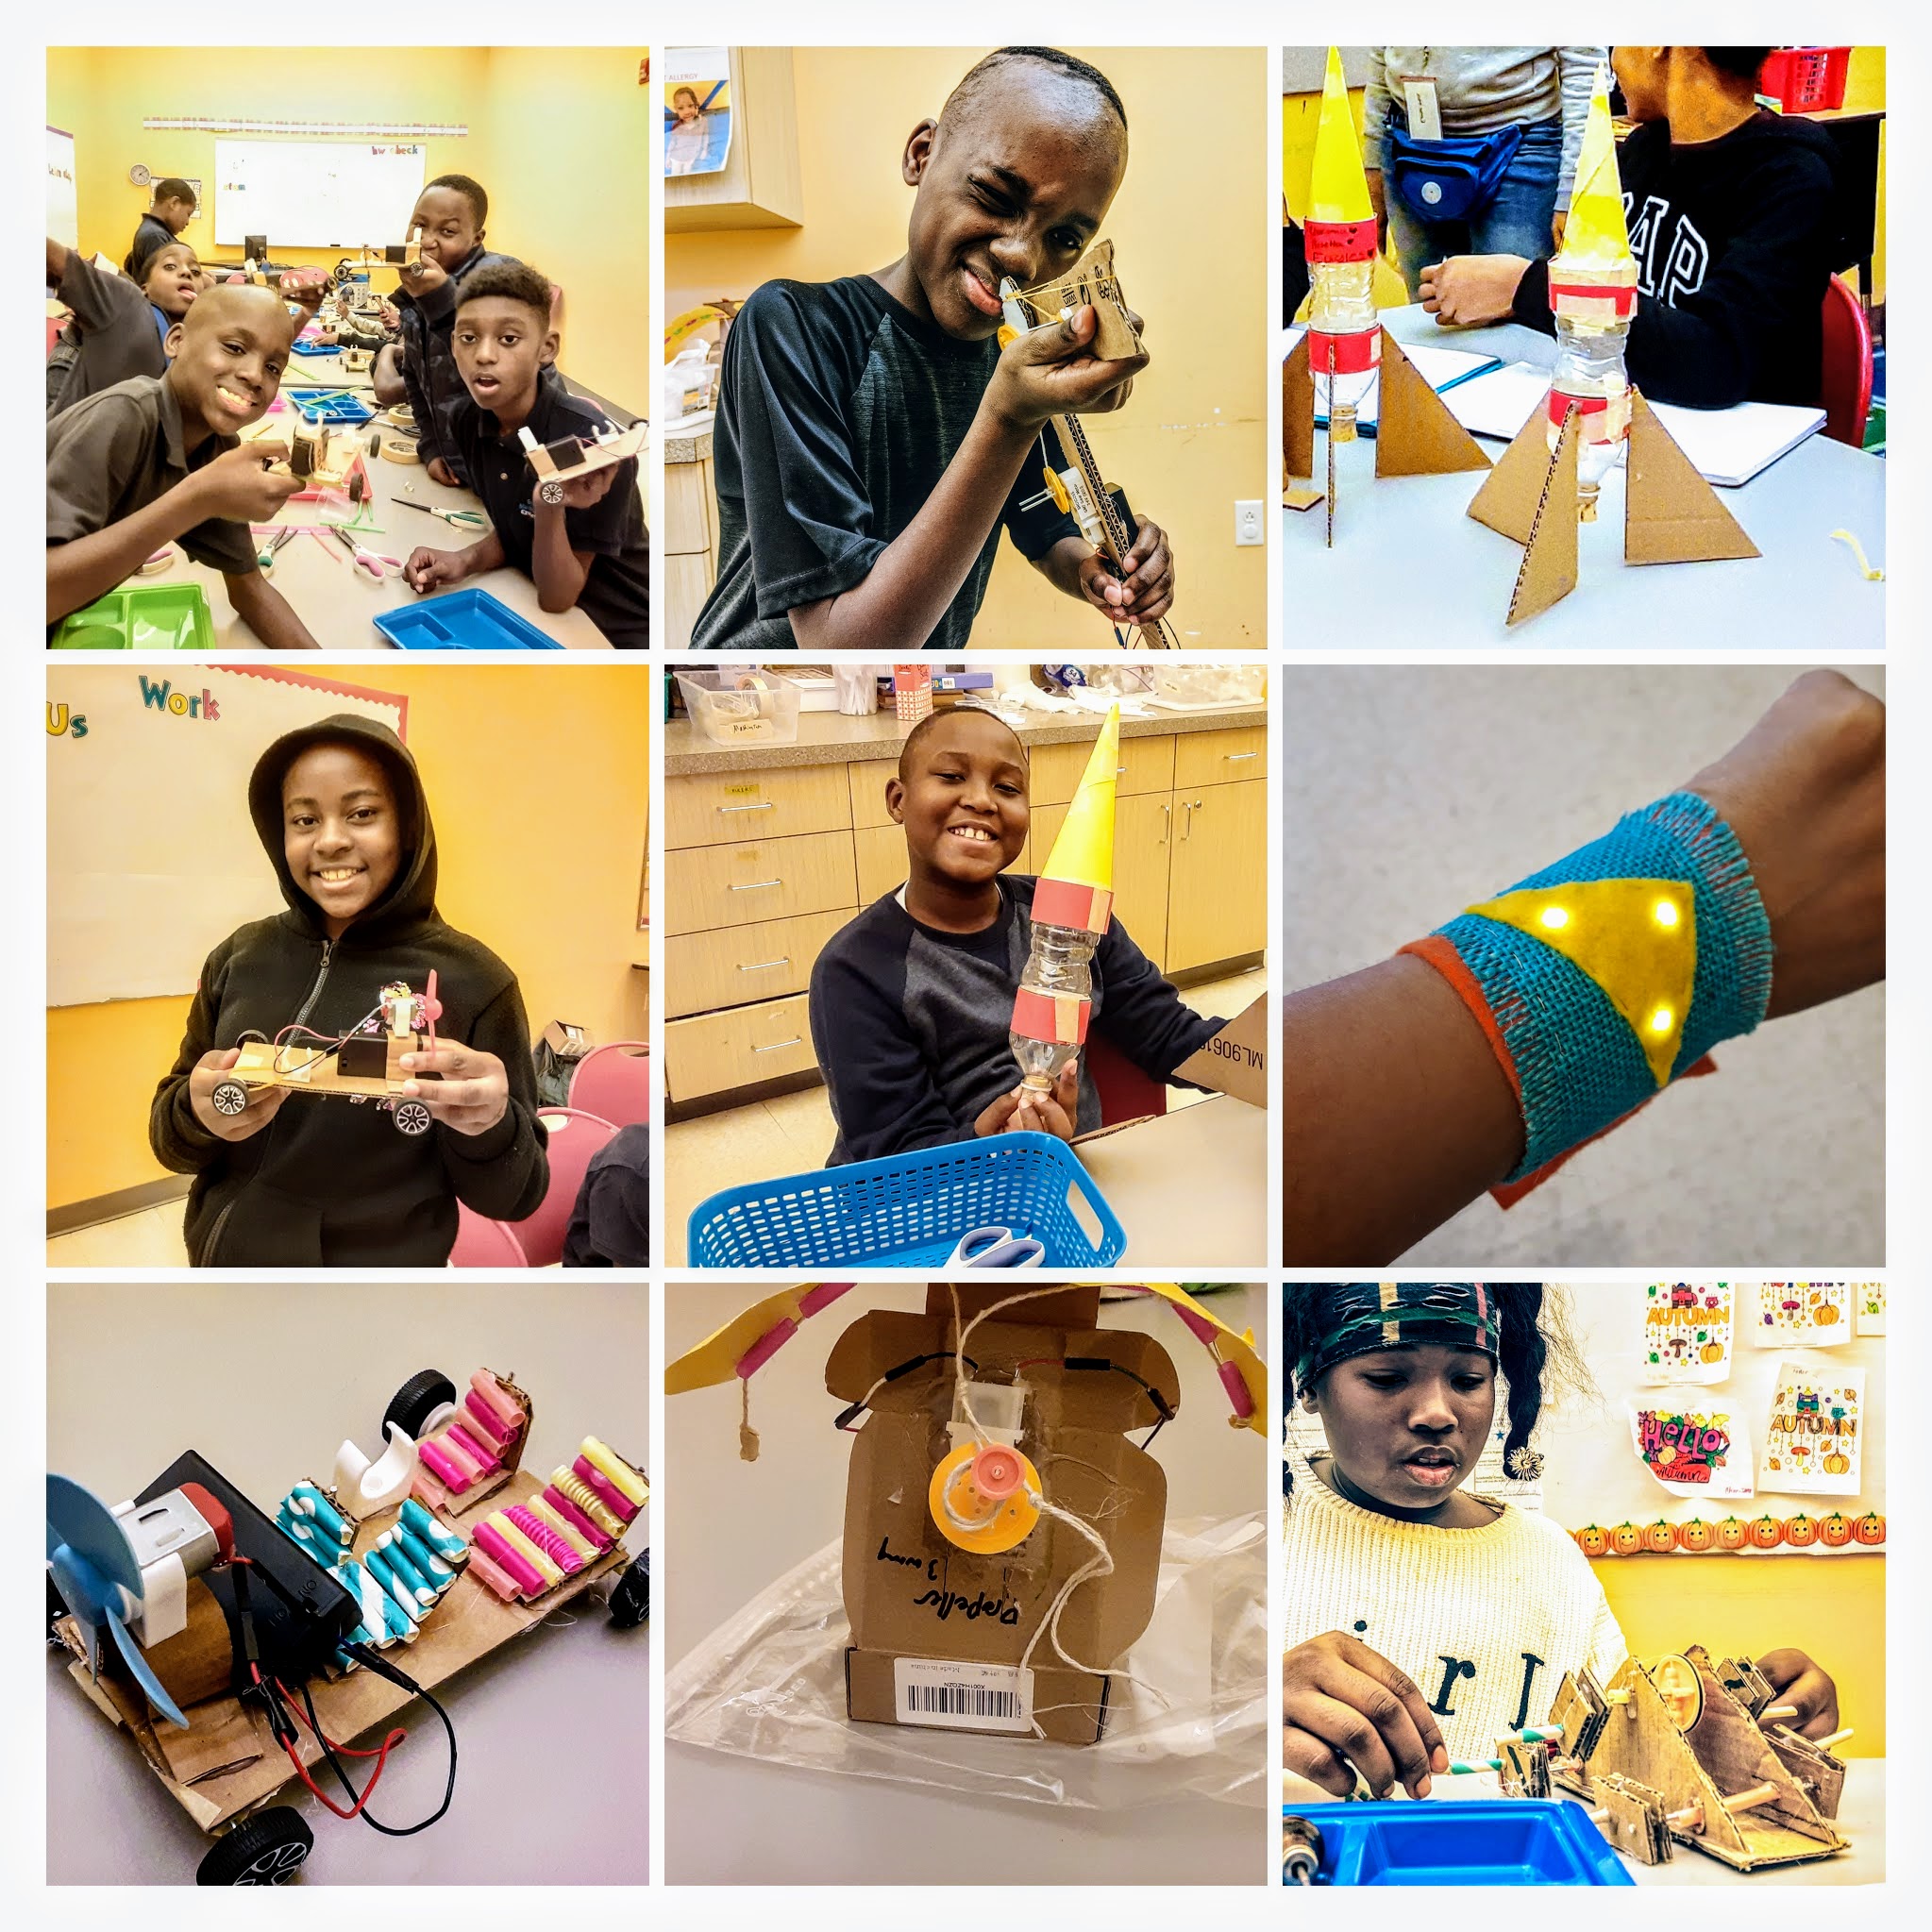
Illuminating Wallet and Bracelet
With Halloween right around the corner who doesn’t love some fun fabrics? In this session, our students used their design skills to create a wearable electronic device! Students had the option to create either a wallet or a bracelet. The cool thing about these designs is… they light up!
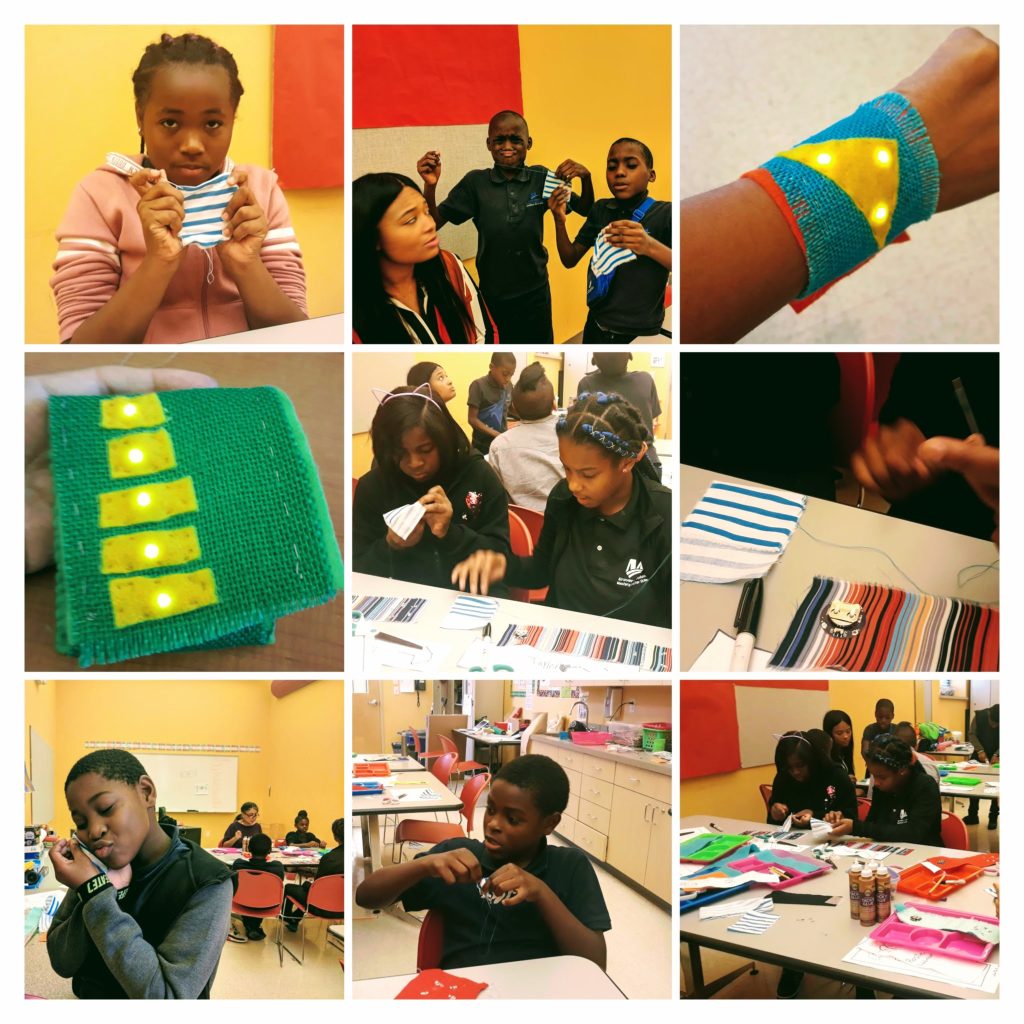
Students began by choosing their base layer fabrics and deciding on a design. They cut out their base designs and the stylistic finishes that would be added after their circuit was put in. Next came, the circuit !
We had example circuitry layouts for the students to follow so that they understood how a fabric circuit layout is just a different look but essentially the same as one with regular wires. The particular layout we chose was a parallel circuit, which we first practiced making with a battery, wires, and two lights. A parallel circuit with two lights and a battery is a simple enough activity to introduce the concept of basic circuits while also allowing students the ability to see what exactly is needed and is important in a circuit.
Once the students completed their circuit examples, they moved on to creating the circuitry in their fabrics. Compared to typical circuits, wearable circuits use a conductive thread to transfer electricity and can be sewn into the fabric itself. On top of learning how to make circuits, we certainly learned a lot about sewing! For many students this was their first intensive sewing project and they did great!
In the end we had some cool bracelets and wallets to show off in the dark!
Mini Robotic Projects
In the following projects, we learned about different and simple ways to create motion using 2 components: a battery source and a DC motor. DC motors, which make a full 360 turn, are versatile in their use and can be used to create many different types of motion. We took advantage of this to teach multiple ways we can make motion, leading up to the students creating their own robots!
- Shaking Butterfly
We begin our robot motion projects with a simple but fun project! The shaking butterfly is a variation on the popular bristol bot simple robot and employs the same concept. With a bristol bot, you place a small hobby DC motor on a bristol item (typically a toothbrush head or other brush) and watch it go! The DC motor shakes and that causes the bristol bot to move around in an erratic pattern.
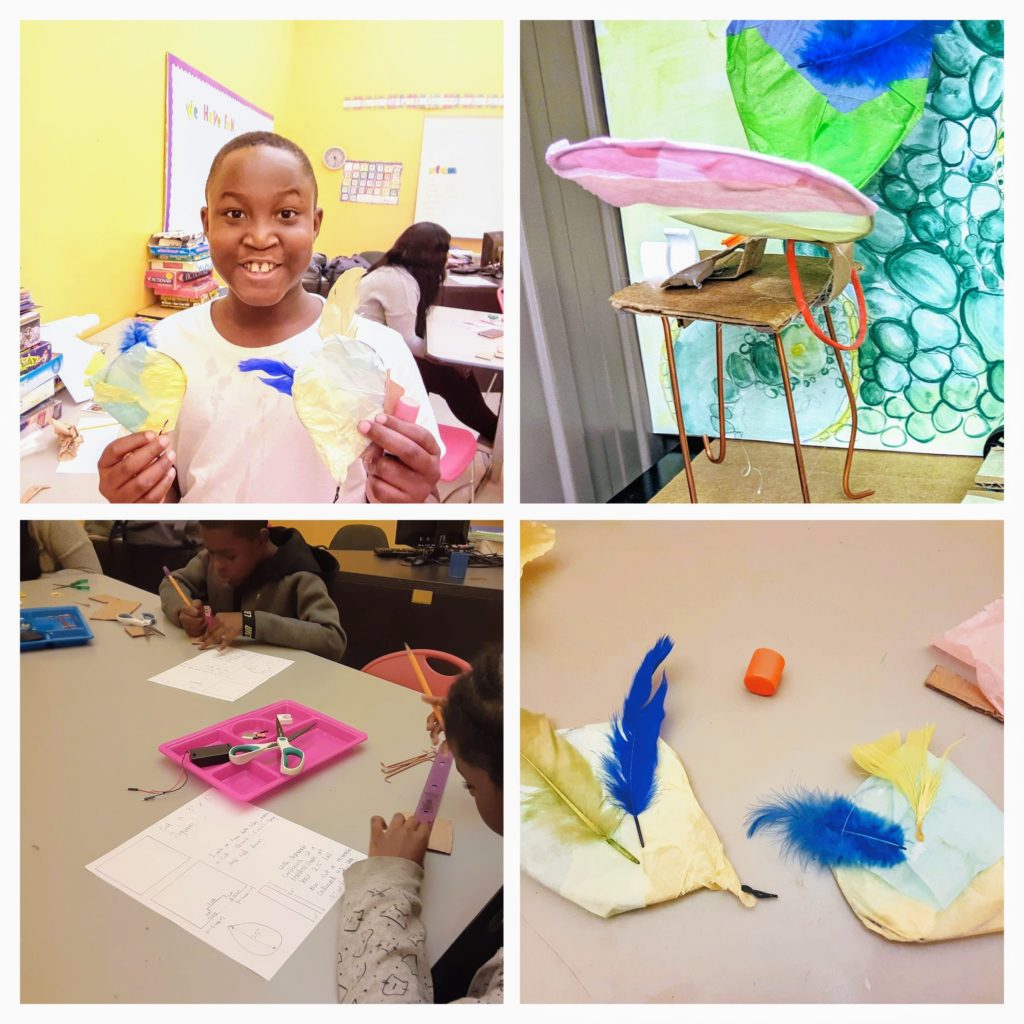
With our shaking butterfly we share the same concepts while adding a fun design twist! Our bristol bots get elevated by using very skinny but long metal rods underneath a cardboard platform where the motor and battery are held. The metal rods are uneven in length (while balanced) to allow the erratic motion when the motor shakes. The motor itself must have an attachment that puts it unbalanced to allow for dramatic shaking motion and true movement. This can be made very simply using an off balanced cardboard piece added to the motor shaft.
Following this, we added wings to our robot! And we decorated our robot with tissue paper and feathers, our butterflies were in full bloom!
- Mini Car
For the second project of this series, we introduce two new ways to combine mechanical and electronic motion in order to move a mini car.

Cars in real life, in the simplest form use a motor to make their wheels move forward. The motor (which in cars is called the engine) is connected to the wheels by a mechanical part (that is called the drive shaft) and that by turning on the engine makes their wheels move.
In the past we have shown to our students this mechanical and electrical application through gear connections. However for this project we decided to show two new mechanical possibilities: 1) A connection using a belt and pulleys in place of a gear and 2) Newton’s third law of motion, via a propeller, to move our car forward.
The design and layout of this robot car was simple: we just needed our rectangular cardboard chassis and straws on the bottom to hold our axles connecting to the wheels. Then two motor holders were located on our car- one for the pulley setup and one for the propeller setup.
Our students learned how to set up both and learned the differences of motion in each.
The propellers were the most popular choice for racing though, as our students got right to it!
Students got creative with their designs and raced each other with their brand new cars!
- Jumping Robot
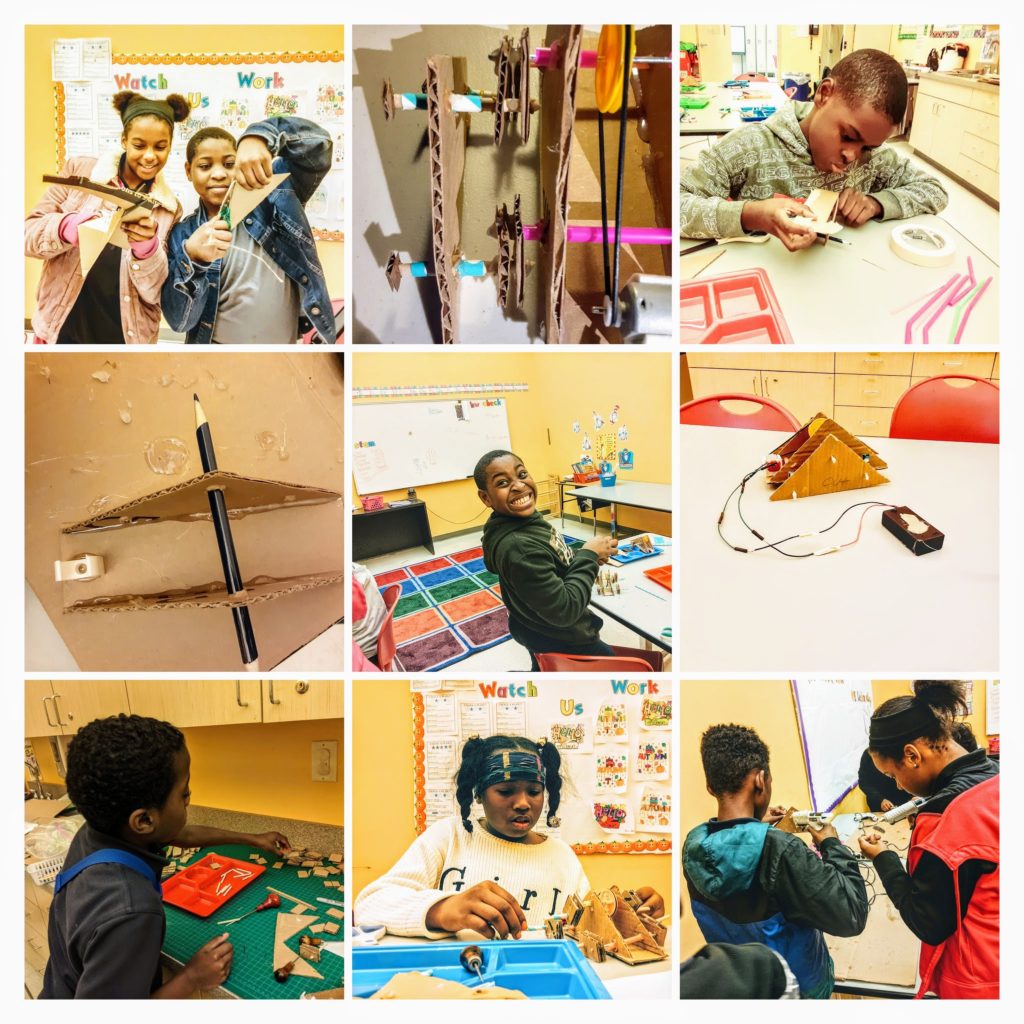
Our final and most advanced robot displaying motion was our jumping robot. This robot uses outer ‘legs’ to lift its main base up and forward. Repeating this motion allowed our robot to move forward. The final result makes it look like it is jumping like a frog, or it could look like it is hauling through life when the motor is changed to a torque motor that is slower but has the power to lift the body of the car!
The most difficult part of this robot is the assembly of the robot and was certainly a learning point for us as instructors, as we had to find ways to make the building portion more accessible for smaller hands. The mechanics itself was very simple, the motor turned an axle which allowed forward motion on both the left and right side of the robot. The struggle came in staying within the allowance of error for assembly before there was too much friction for the robot to overcome.
We worked hard for several weeks on building and fine-tuning and finally got to see our robots go!
- Design and build your own robot
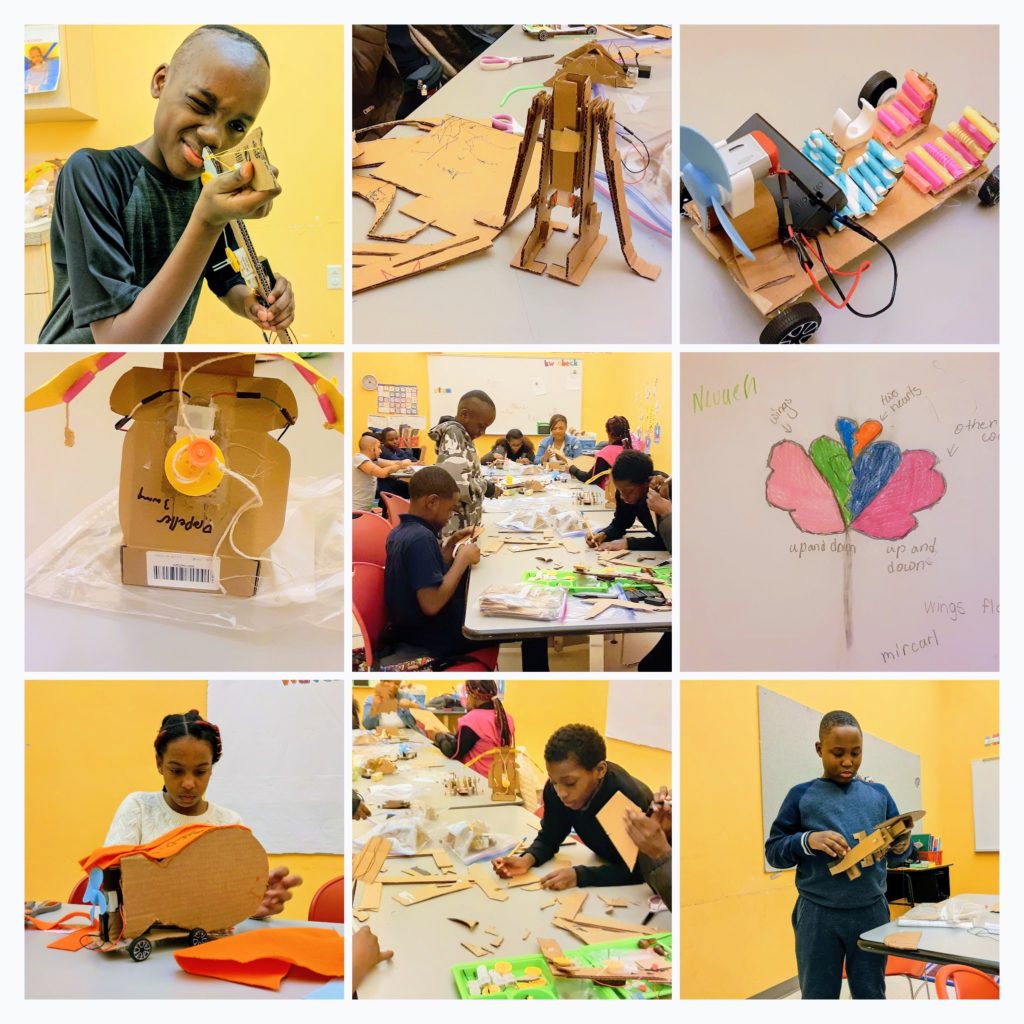
Finally, the time came when we all had to stray from pre-designed projects and make our own robots. We gave our students a basic but versatile package: cardboard, 1 motor, 1 motor holder, 1 propeller, and up to 2 wheel+axle sets. From here students were to spend the first week coming up with a feasible design that they could complete in four weeks, and the following three with building and testing.
Students came up with amazing ideas, both building off what we did so far and completely new concepts! We provided guidance and feedback for the feasibility of projects (within our timeframe) and guidance on how to go about building designs for some of the ideas that introduced new motions, and gave guidance on how to effectively build around and up from the projects that were enhancing what we have already done.
The results were great! Students were able to explore their creativity and knowledge.
Relaxing Activity: Building a Rocket!
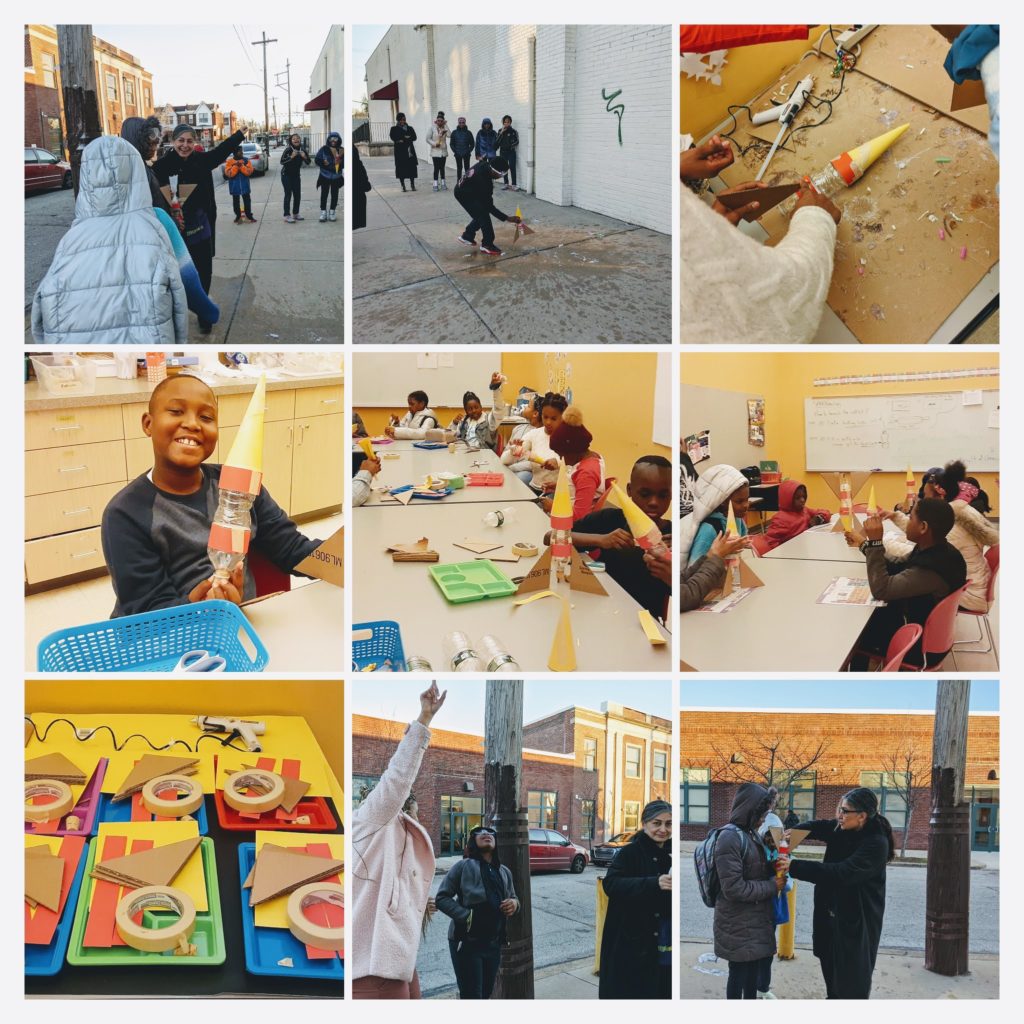
This term was very heavily focused on robotics, electronics, and detailed design. Everyone did such a wonderful job on the last two projects even though they were challenging and time consuming. We are so proud of our students! We wanted to end with a relaxing activity that allowed creativity but without requiring such a minimal margin for error to function. So what better activity than rocket launching!
We created standard vinegar + baking soda rockets with fun rocket designs! The rockets went flying as two floors high!