General Topics: Wearable Electronics, Electricity, Light, Basic Robotics, Origami, Building with WeDo and Little Bits
Grade Level: 4-7
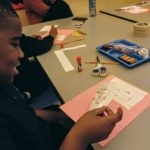
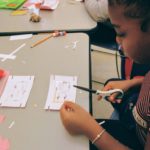
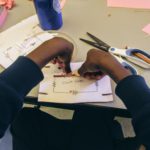
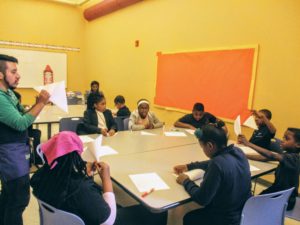
In these classes, we learned a variety of skills to create many different electronic projects. From wearable circuits to robotic cars, we build on our knowledge of circuits to create fun and exciting projects!
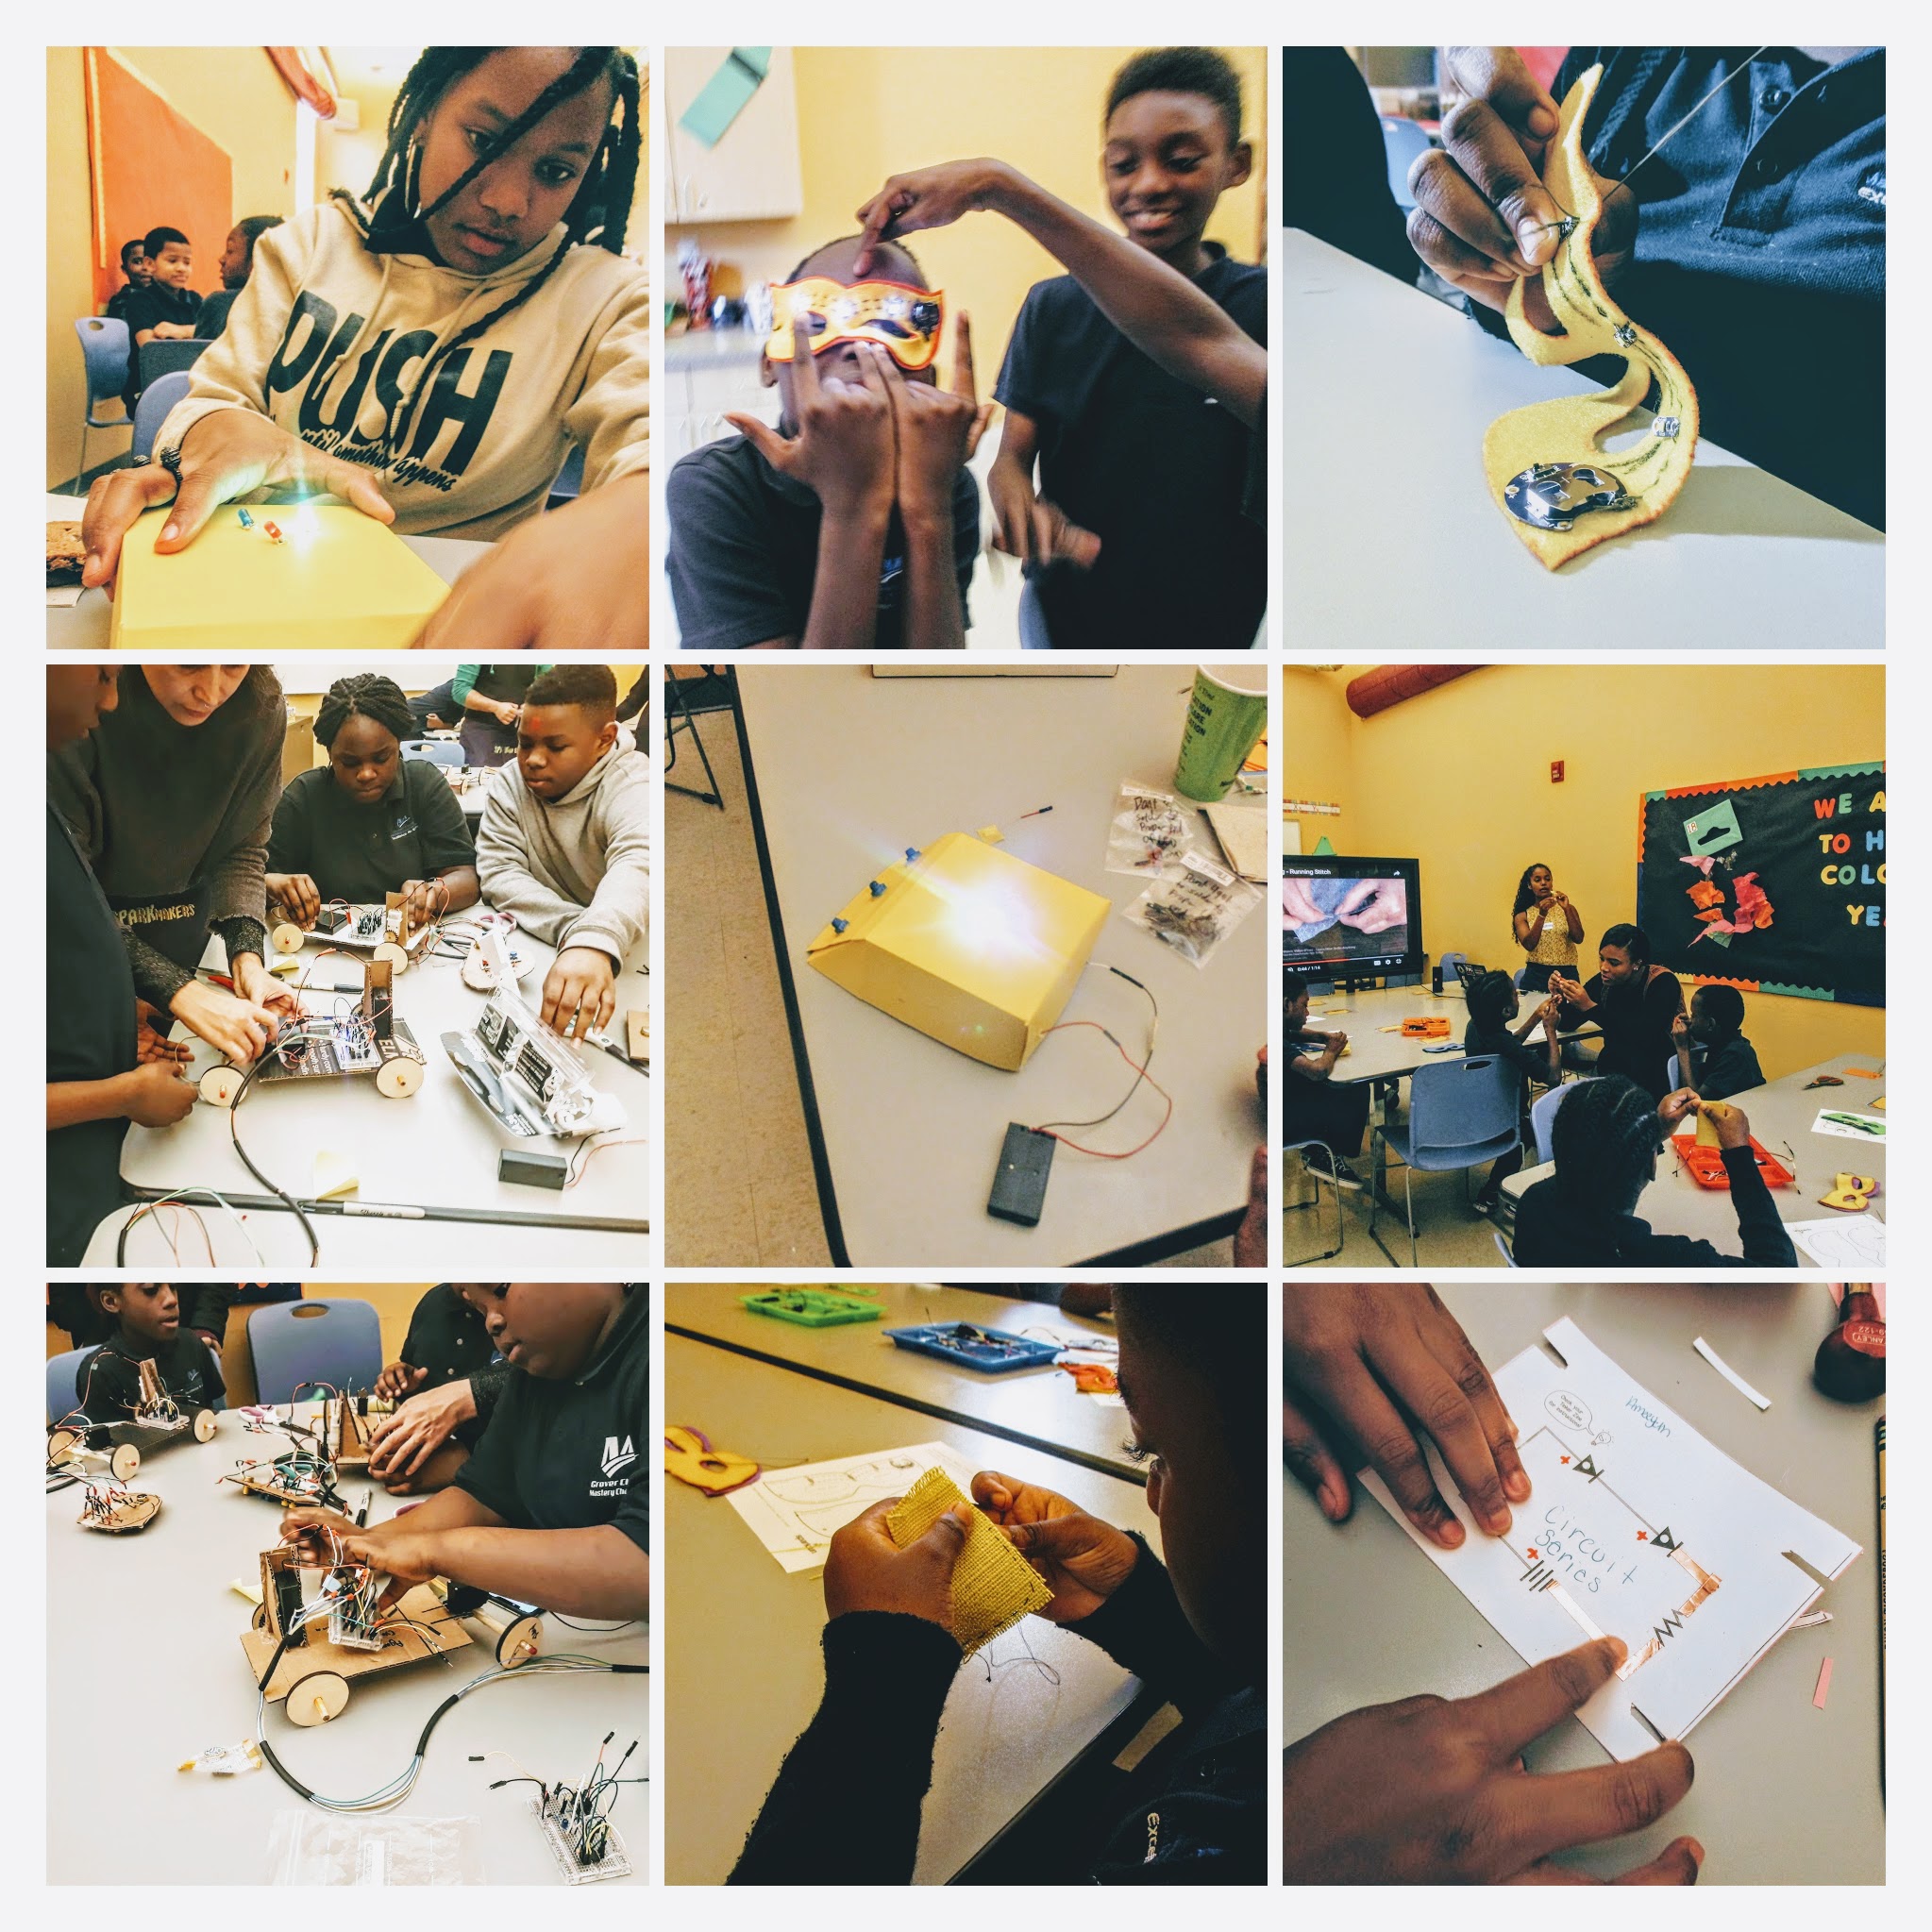
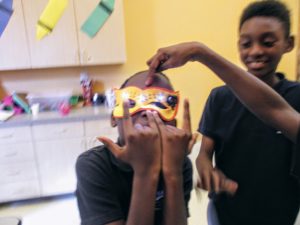
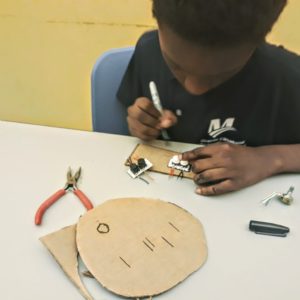
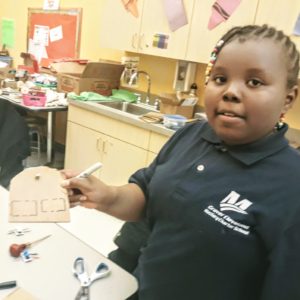
Creating an Illuminated Mask
In this project, our students learned how to integrate fabrics and electronics to create an illuminated mask!
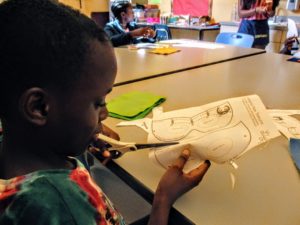
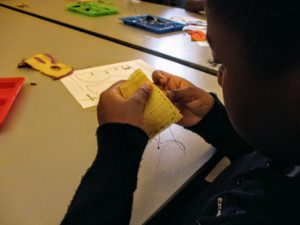

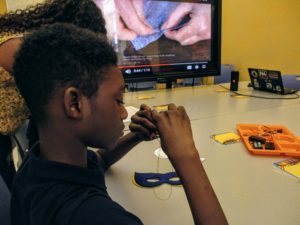

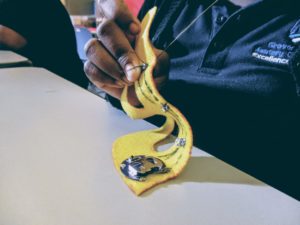

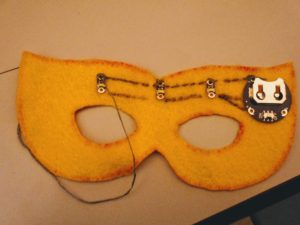
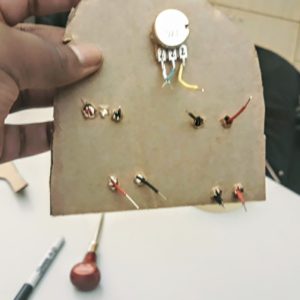
Using Lillypad (LEDs and Battery holder), along with conductive thread, our students created a circuit on fabric which they had cut into a ‘superhero mask’ cut out. The LEDs were sewn into the fabric and thus created a light-up mask! The circuit itself was parallel so as to evenly use the power in the battery, thus allowing all the lights to shine equally bright (as compared to a series circuit that will get progressively dimmer or take power away completely from a light).
The students were superhero ready by the time they completed their masks!
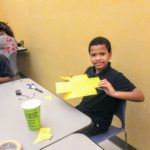
Walking Paper ‘Robot’
With our illuminated masks, we learned about basic circuitry and how parallel circuits can look like on usable applications. However, before going into more advanced applications, we introduced our class to using circuits for creating mechanical motion.

We first questioned what a robot is, and where the line is drawn between robot and simply a machine. Is a robot just a physical machine with intelligence, or can it also be a non-intelligent mechanical object that has a style resembling what is typically imagined when one says ‘robot’?
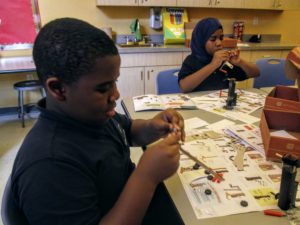
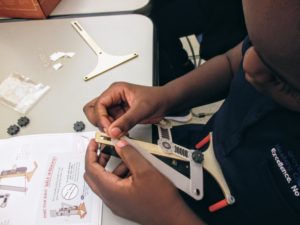
Regardless of our answer, the first step to creating any robot is the creation of mechanical motion from electricity. Using Kiwico’s Walking Robot kit, we explored creating motion, specifically walking motion, from electricity. We learned electricity is used to rotate a motor, and how that motor can be used to simulate walking. As simple as a series circuit single motor-driven ‘robot’ is, this simple circuit still propels us forward and gives the desired motion.
Students assembled their robots and wired them up, releasing them out to ‘fight’ each other and race!
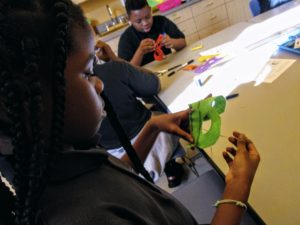
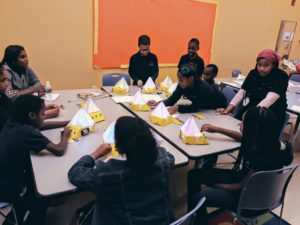
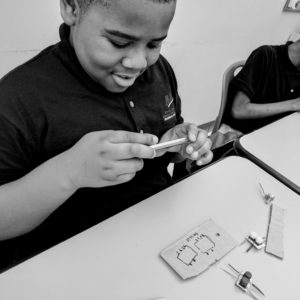
Paper Art and the Multi-Color Lantern
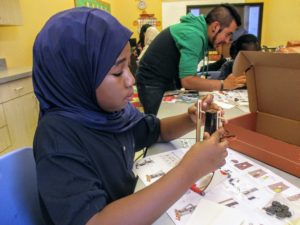
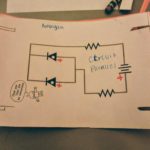
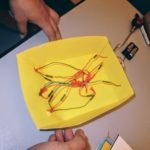
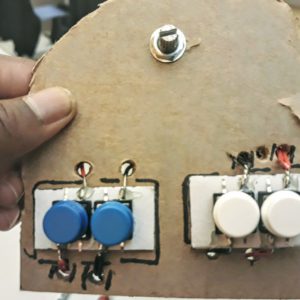
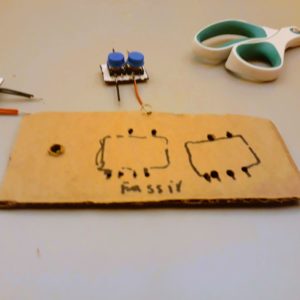
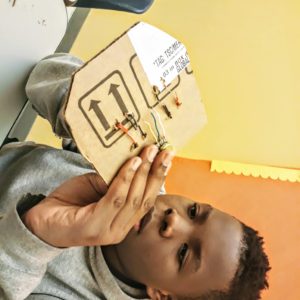
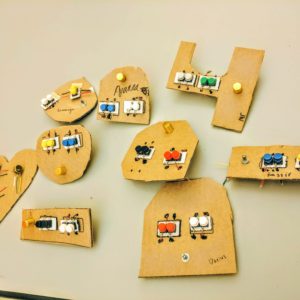
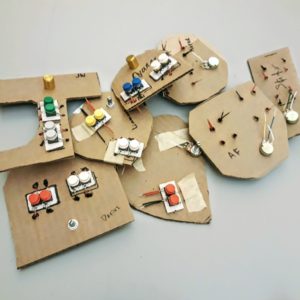
This next project built on our knowledge of circuits and lights and added on a special component: a potentiometer! We began the class by building two simple circuits with copper tape and LEDs. One circuit was in series, while the other was in parallel. These would refresh students on basic circuitry and introduce them to the type of circuit we used in our last project, the Controlled Car.
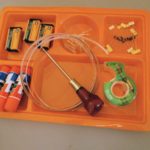


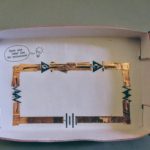
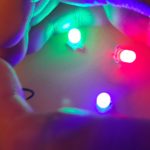
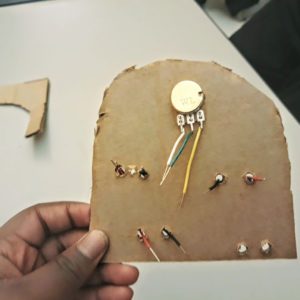
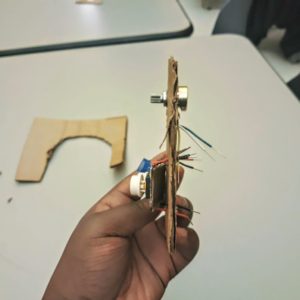
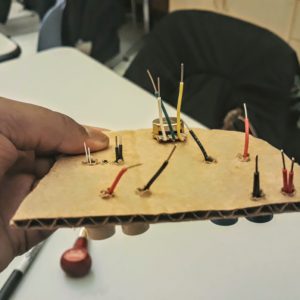
After refreshing our knowledge, we got down to business! Our lanterns would be made of three LEDs: red, green, blue. These would have a white paper crystal over them to allow color mixing. Depending on which ones were lit, we can make a variety of colors and learn about color theory. One additional component to add more control is potentiometers. These components can be rotated to change the dimness of the lights, thus adding a larger range of colors to our lantern!
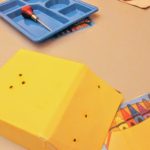


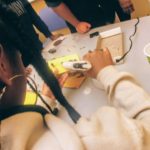


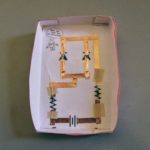
We started building our lantern with the base. Using paper, we cut sections allowing us to create the lantern base shape with our paper. This base then got 3 holes for each potentiometer controlling each LED, and one large hole in the back for the wires to leave from.
We then assembled the wiring itself and tested its functionality to make sure everything was good to go before placing the wiring inside of the base of the lantern. This wiring taught us about parallel circuits and having a component (the potentiometer) that required more than just an on/off signal.
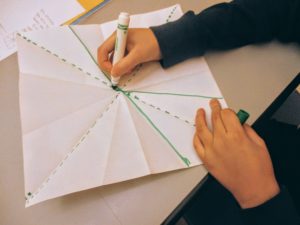

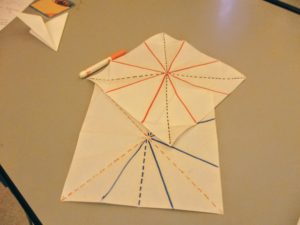
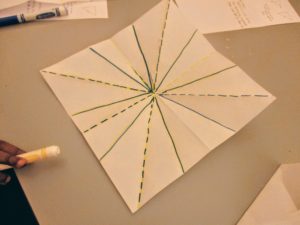
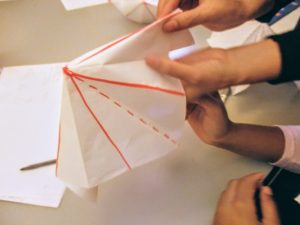
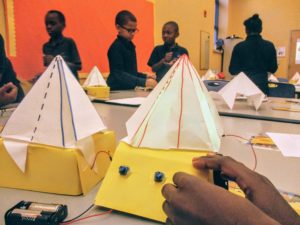

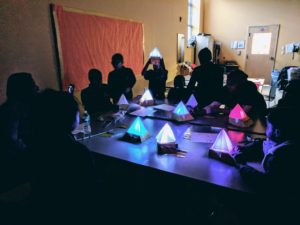

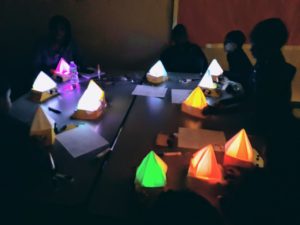
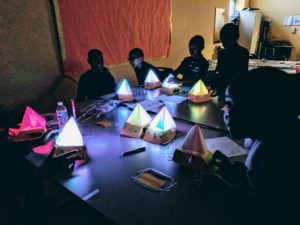
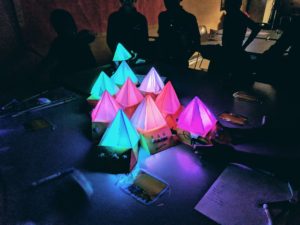
Once the wiring and base were assembled, we did a quick art project and learned a bit about the art of folding paper. We folded paper into a triangle that would be going on the top of the lantern. The translucent paper allows light to scatter, thus the LEDs could mix in color when each one was dimmed at different times!
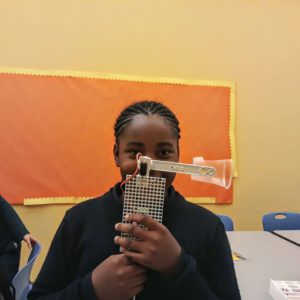
WeDo and Little Bits
Students rotated using both Lego WeDo and Little Bits to gain an introduction to more advanced wiring and advanced components, and how mechanical motion works in robotics. With WeDo, students learned graphical programming and had a brief introduction to building and creating designs to solve problems. WeDo allows the freedom to create anything and make a vision come to life.
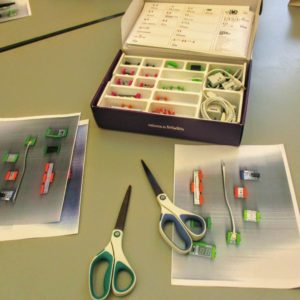
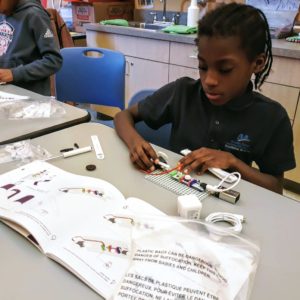
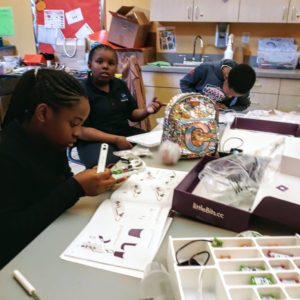

Little Bits gave students the ability to mess around with components we have used before(lights, potentiometers, switches, etc) and those we haven’t yet (timers, buzzers, sensors) in an easy to understand way. Students mixed and matched and saw how different components worked and affected others.
Both these helped students get introduced to what we would be working on in the next class, a wire controlled car!
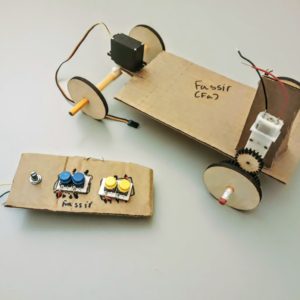
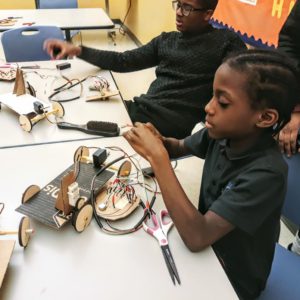
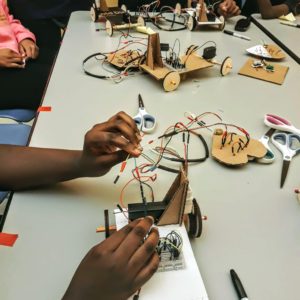
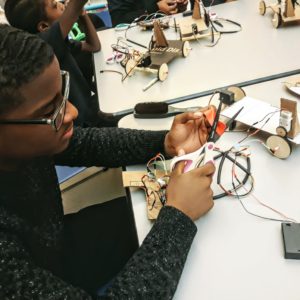
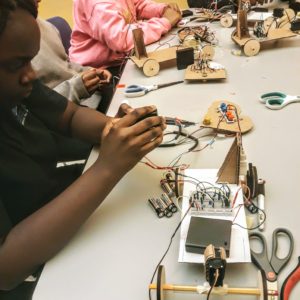
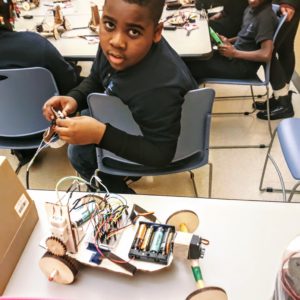
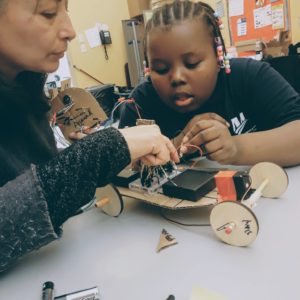
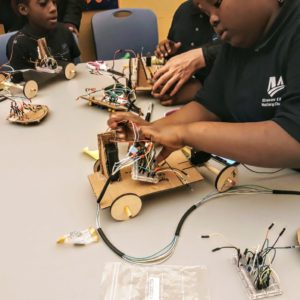
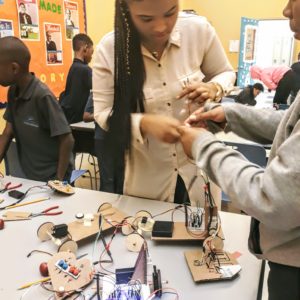
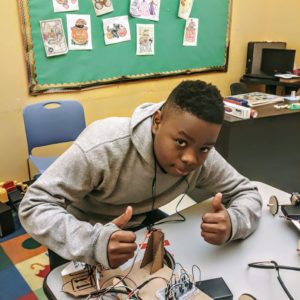
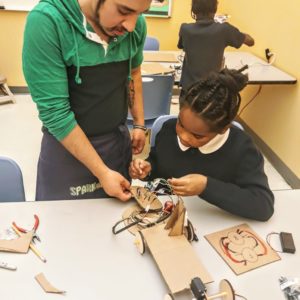
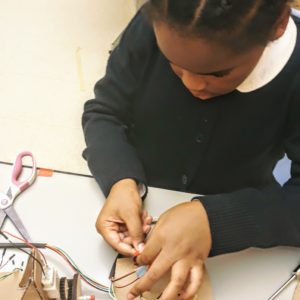
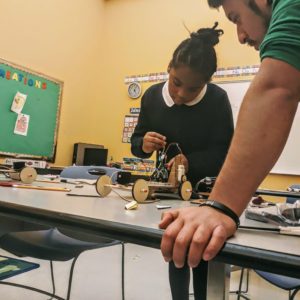
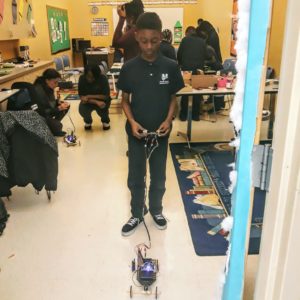
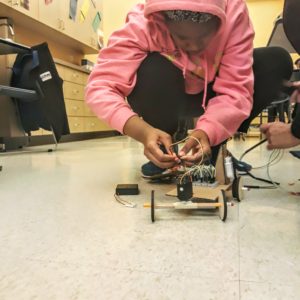
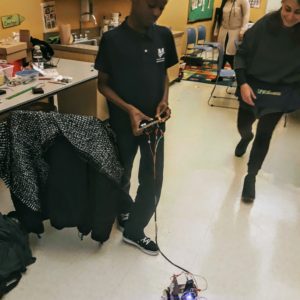
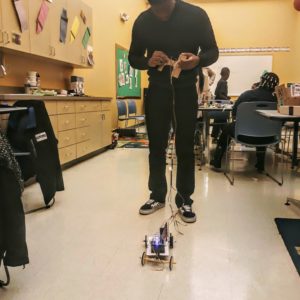
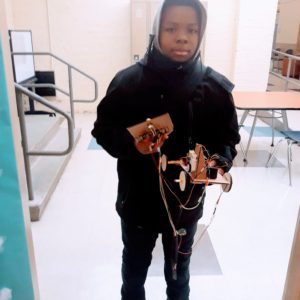
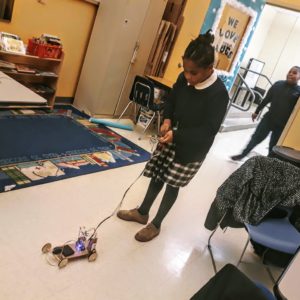
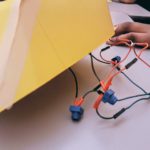
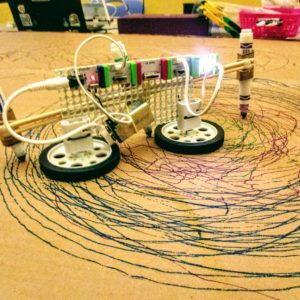
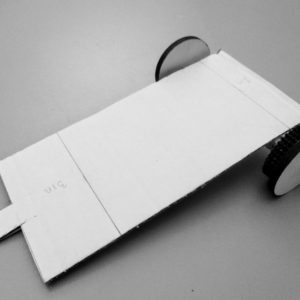
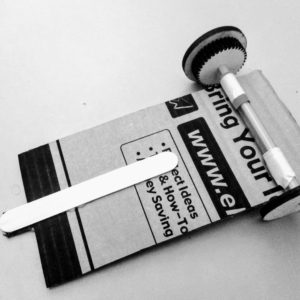
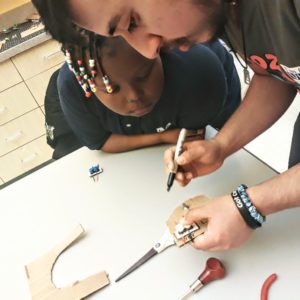
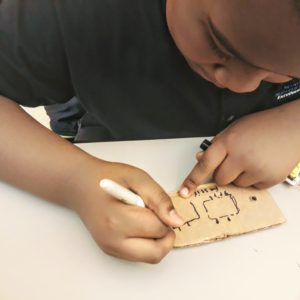
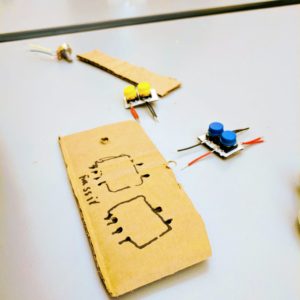
Wire Controlled Car
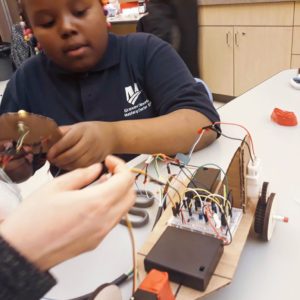
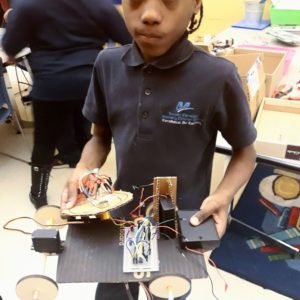
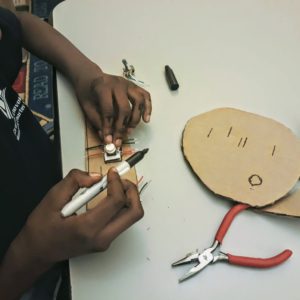
The wire controlled car is our final and our biggest project in the class. We will be using what we learned about potentiometers, parallel circuits, motors, and timers to complete this project. We begin with the students building the base of the car and creating axles for the wheels. We also learn a bit about gears as we add our gears to our rear wheel which is the wheel that will become motorized once we add our DC motor.


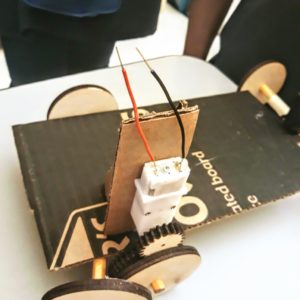
With the base complete, students can move on to creating the circuit. Most of the circuit was already completed, as the use of timers and working with so many components can be very complicated and overwhelming when first learning more about electronics. However, students still needed to make all the connections of the circuit and began to gain an understanding of more complex circuitry! The circuit included both the control of the servo and DC motor, along with the H-bridge control (modified to also contain a potentiometer to control the servo motor).


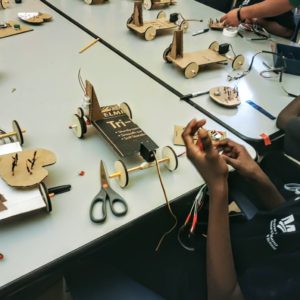
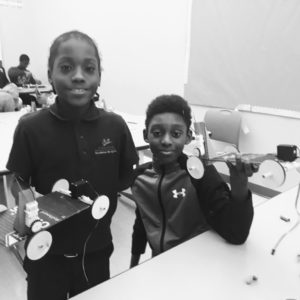
This project was the most complex project yet! The students did an amazing job and soon were racing one another with their completed car!