General Topics: Engineering, Basic Robotics, Electric Energy, Electronics, Circuits
Grade Level: 2-3
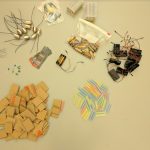
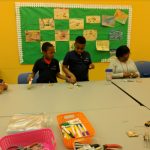
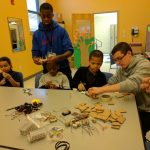
In this activity we explored the process of making small robots and learning how to use switches and breadboards! This exercise taught us how to prototype circuits by using a breadboard and teach the fundamentals of creating small devices from electrical components! Students were then able to decorate their little robots.
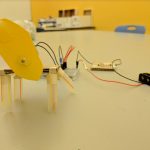
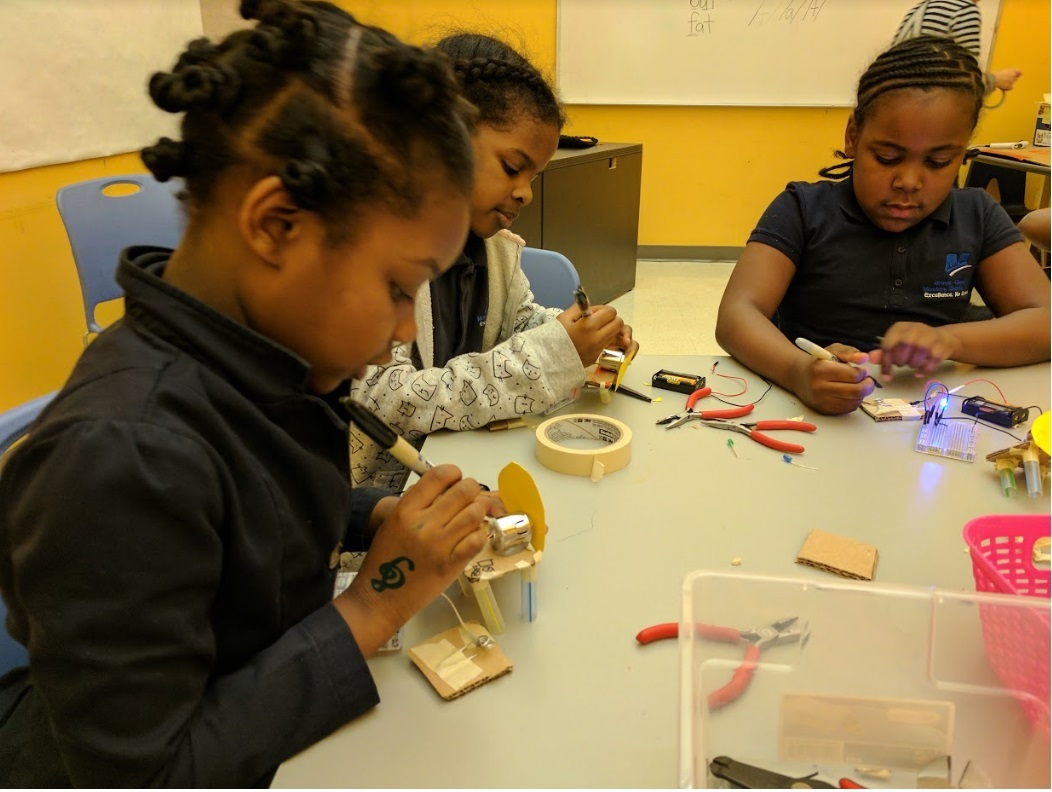
Each student started off making the small robot, placing the robot legs on the cardboard and placing them in such a way that when the motor vibrates the robot will move back and forth and shake. When complete with the robot base, the motor was glued on along with the small off center propeller. This propeller also was purposely made uneven to allow for more movement when the motor was turned on.
The students then put the robots aside as they worked on the switches! The students made a stylish paperclip-switch to use for the breadboards.
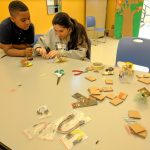
Next, the breadboards! Together we learned to wire the breadboards and understand the orientation of the pins. We used the breadboard to wire up lighting a small LED light, then we added in our little robots and bam! They were moving!
This class we learned:
- How to use a breadboard
- How a circuit works
- How to make a simple robot
- How to wire multiple items on a breadboard from the same power source
Things to keep in mind for future activities:
- Using a breadboard took a little while to pick up and understand, but saying exactly where to add the wires in (ex: J22) made it easy to follow!
- More time would be ideal for removing the wiring from the breadboard and using it just on the cardboard so the students could take it home
- Soldering the wires is more ideal and sturdy than tape